test 2
L1 LAYOUT LAB / BUILD WRITE-UP
A more serviceable workstation
A practical write-up alternates explanation with evidence. This example uses an authored contents block in the article flow, two-column notes and native Media & Text. The floating reading bar is deliberately off to demonstrate that the inline TOC is independent.
some paragraph
Begin with the working space
Before presenting a procedure, establish the space around the machine and the goal of the change. An overview helps a reader recognize which part of a photograph matters and which details are incidental.
Write in sections that answer concrete questions. The layout can grow wider when a photograph needs context, then return to a narrower measure for the explanation.
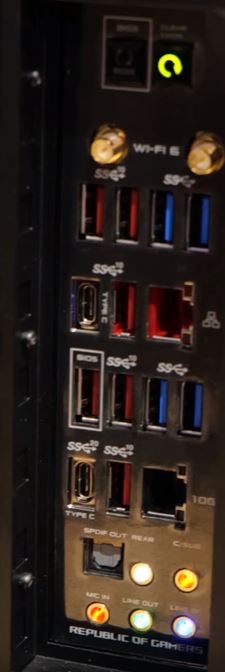
Map the connections
A paired photograph and explanation keep the reader oriented. Native Media & Text controls the image position and proportion and stacks the two sides on a small screen.
Make the next visit easier
Document the final arrangement as well as the steps that led to it. A photograph of a tidy result is useful when it identifies access points and leaves enough context to recognize the system later.
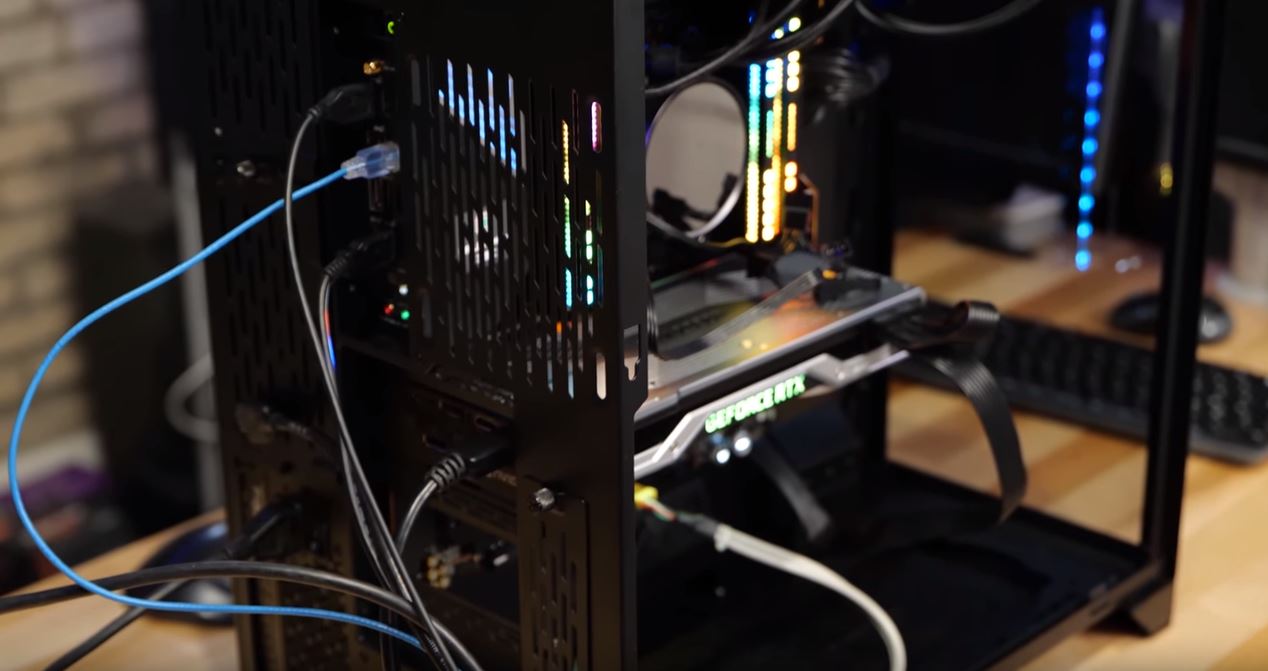
Leave a useful record
The best final photograph explains the finished state. Pair it with a small checklist that a future reader can use without replaying the entire article.
- Record the final cable routes and port assignments.
- Keep the relevant settings with the test or build notes.
- Show how the finished system sits in the working space.
What to keep in the build notebook
Photographs, part identifiers, firmware versions and the reason for each change make a much stronger record than a list of purchases.
The finished workspace
This final section returns to the original goal and notes what still needs attention. A build story does not need a forced product verdict; it needs a clear stopping point and enough detail for another person to continue.